


If you create and upload videos regularly, you’ve probably tried a video enhancer at some point. Sometimes it works well. But other times? The output still doesn’t look ready to post.
A few days ago, I was trying to fix the lighting in one of my clips. I experimented with a couple of tools, but the results weren’t great. The video either looked too soft, or the colors felt off.
That’s when another creator recommended Vmake Video Enhancer. I hadn’t tried it before, so I decided to give it a proper test.
I have tested it on my recent clips to know how well it improves the quality of videos. Here’s my honest take on how it performed.
What Is Vmake Video Enhancer?
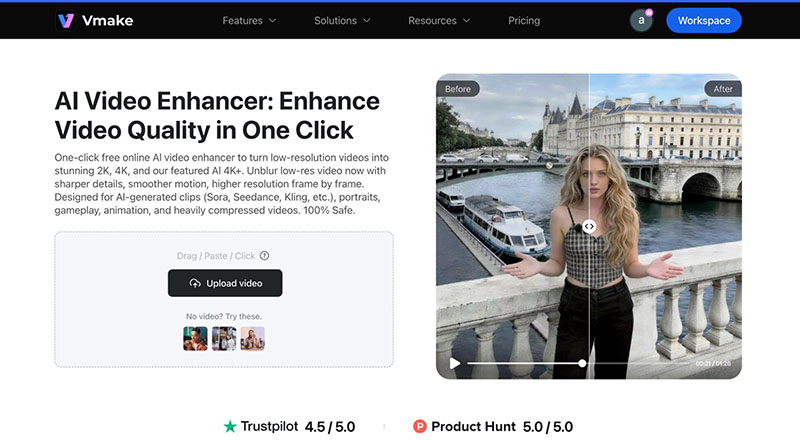
So, what exactly is Vmake AI video enhancer?. This is an AI video enhancement application that claims to sharpen your videos. The concept behind it is that if you have any videos that are fuzzy or seem like they need fixing, then this tool can help.
I like this tool at first glance because of its UX. The best part? I didn’t need any complicated software. You just upload your clip, pick what you want to improve, and let it run. Here’s what it can do:
• Upscale resolution – turn standard-definition clips into HD or 4K.
• Reduce noise – remove grainy or pixelated areas in your video.
• Adjust colors – fix washed-out or uneven colors automatically.
• Handle small edits – like trimming, adding subtitles, or removing watermarks.
It’s ideal for creators who want a fast way to improve video quality. It suits the creators and brands who work with short clips or presentations.
Hands-On Test: My Experience with Vmake Video Enhancer
User Experience and Overall Look
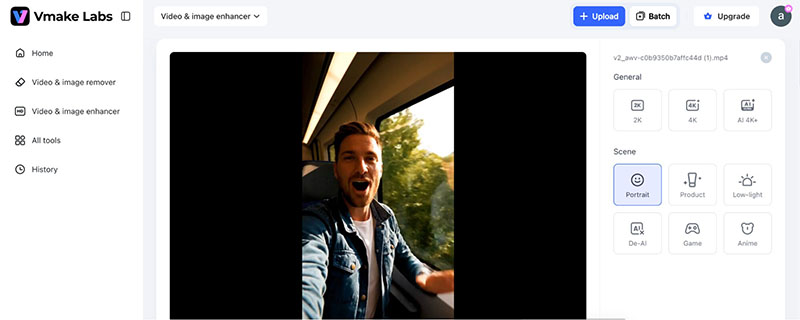
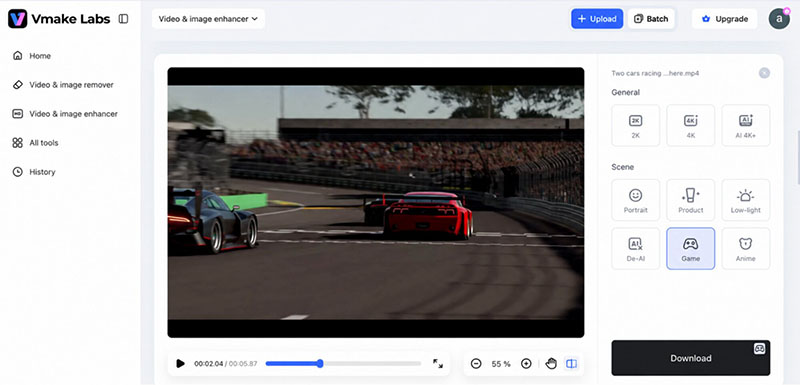
When I first opened Vmake Video Enhancer, I noticed how clean and simple the interface is. No clutter and confusing menus. Just upload your video, pick an enhancement mode, and hit “Enhance.”
It works totally on the web page without any need for downloading software or slowdowns. For each of the five modes available, Portrait, Product Video, Low Light, Gameplay, or Animation, there is a detailed description.
Moreover, the preview function allows you to have a little insight into what your result will look like. Thus, using it seemed quite easy even to a new user. The process of working with different videos went smoothly compared to other applications that I have used.
General Enhancement: 2K, 4K, and 4K+
I tested the general enhancement modes available through Vmake. These included upgrading clips to 2K, 4K, and even 4K+ quality. This initial test gave me an idea of how powerful the artificial intelligence system is.
In fact, even standard quality clips showed an amazing improvement in terms of clarity. The video looked sharper, the colors looked clearer, and the slight blur of certain details was improved.
In particular, the 4K+ mode impressed me by enhancing the texture and edges of images in a professional manner. The test of the general enhancement mode created a good basis for other modes.
Before

After

Having seen how clean and sharp the videos were, I proceeded to try the specialized enhancement modes.
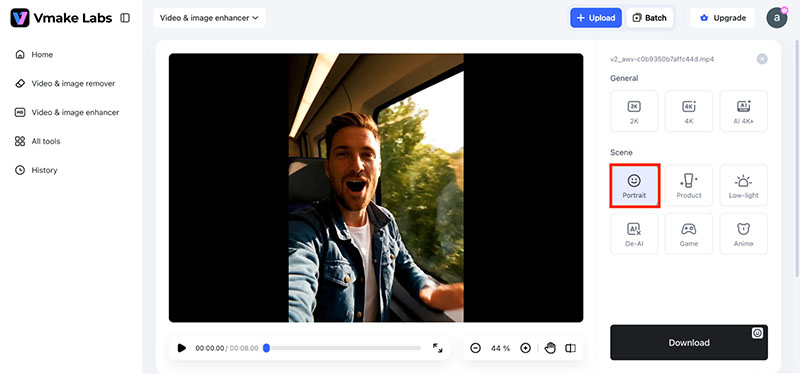
Portrait Mode
Next, I tried Portrait mode. It really brought out facial details and hair looked sharper, and skin tones stayed natural. The clip immediately felt more professional, like it had been lightly touched up without overdoing it.
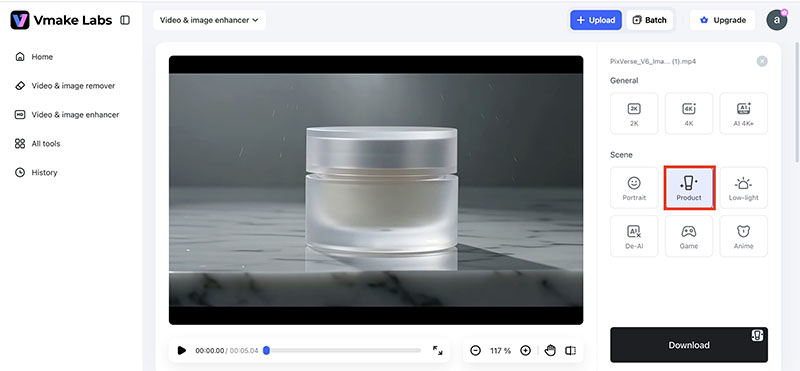
Product Mode
Even though the clip was just a cosmetic jar placed in a photoshoot setup, the product mode enhanced the natural textures of the packaging and surrounding objects. Subtle details that were slightly soft before became clearer, giving the visuals a more refined and polished look without appearing artificial.
Before


After

Low-Light Mode
After that, I worked on Low Light mode. The subtle improvement made the clip easier on the eyes. In fact, this gave it a smoother appearance.
When I applied it, I noticed more details coming through in the background, while the person’s face appeared more natural and clearly defined. The video felt more vibrant overall. Even minor shadows on the face didn’t distract anymore, keeping the focus clean and balanced.
Using this mode gave me a sense of how much small adjustments in lighting can improve the overall quality of a simple recording.
De-AI Mode
When I tried AI mode on the clip, it immediately enhanced sharpness and brought out subtle details in the background and textures. Seeing this made me curious.
I wanted to explore how far the AI could improve the footage without any manual adjustments. It was impressive to see the clip look more refined just by switching modes. This made me excited to test the other enhancement options.
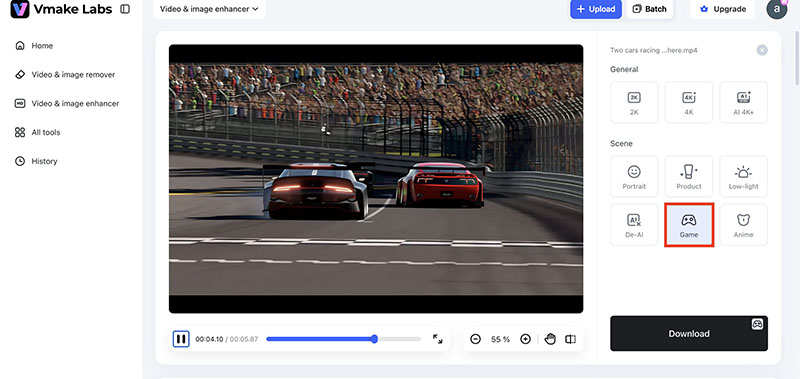
Game & Anime Modes
I tested Game and Anime modes on the same clip. Game mode made colors punchier, and details pop, giving the video a dynamic feel. Anime mode added smoothing textures and made the clip more visually engaging. Both modes showed how easily Vmake can change the mood and style of a video.
Before

After

Pricing: What You Get for Your Money
Vmake AI video enhancer offers a free plan for testing basic features and enhancing a few clips. Unlike some tools where the “free” version barely works, this one actually lets you try it properly.
For creators who need more, there are paid plans. These unlock higher-resolution exports, up to 4K+. Compared to other Topaz Video AI licenses or a full Adobe Creative Cloud subscription, Vmake is much more accessible for creators who just want AI enhancement without a full offline editing suite.
Subscriptions can be arranged monthly or annually. This is a good option for creators looking for quality videos without the need for complicated editing.
Vmake AI Video Enhancer Features
Generative Detail Creation
The tool can fix blurry areas. Plus, it actively adds realistic details to your footage, enhancing textures and structures while staying true to the original scene.
Intelligent Texture Completion
Vmake can recognize objects and fill in textures in a way that looks natural, perfect for tricky areas like hair, fur, or skin.
Scene-Aware Auto Completion
It understands movement and actions in your video, so any new details it adds stay consistent and realistic throughout the clip.
High-Ratio Upscaling
When you increase resolution, Vmake creates new ones based on the original, keeping the video sharp and lifelike even at higher resolutions.
Artifact & Noise Removal
The AI cleans up unwanted artifacts while keeping textures natural. It helps avoid the «overly smoothed» look that you sometimes get with older tools.
Final Verdict: Is Vmake AI Video Enhancer Worth it?
After testing Vmake on a single clip and exploring all its features, I have to say it’s an impressive AI video enhancer. The general enhancement alone made the clip sharper and more polished. Each mode added its own touch, lighting, or style.
The video upscaling and noise reduction features gave even a simple home recording a professional feel. Background and watermark removal worked smoothly, saving time on quick edits. Overall, it’s a tool that makes videos look cleaner and more refined with minimal effort.
For creators who want to enhance, stylize, or polish their videos without spending hours in editing software, Vmake delivers consistent results and is definitely worth trying.